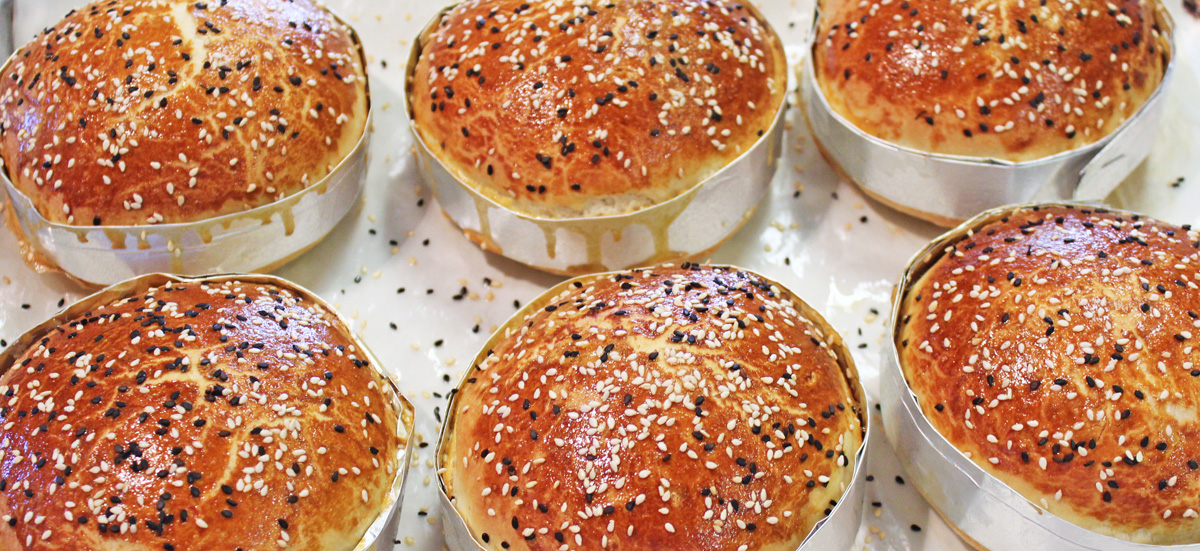
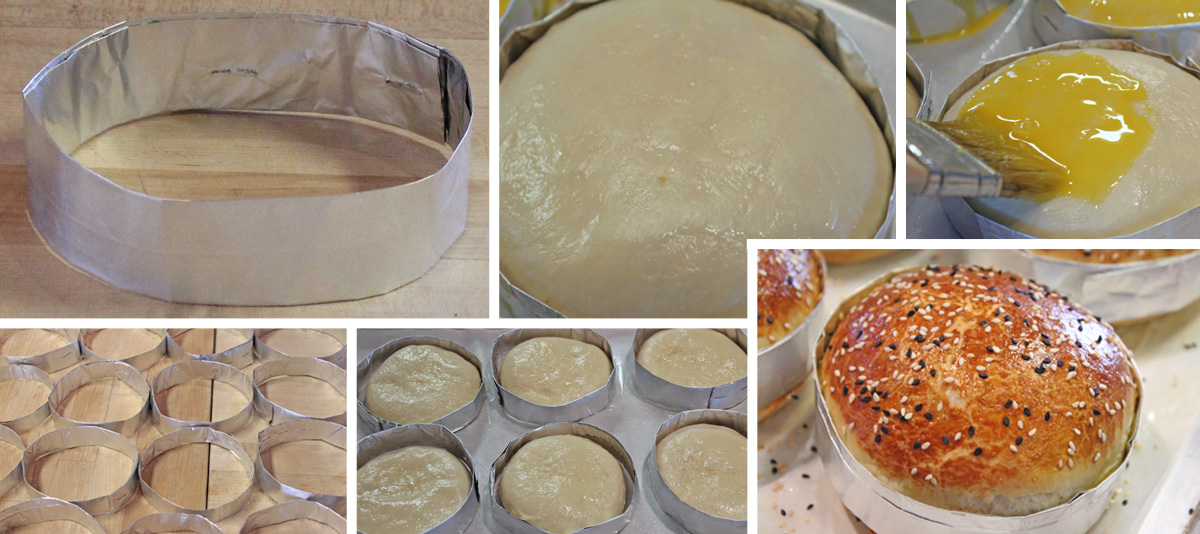
When baking hamburger brioche buns or sandwich rolls, it's sometimes desirable to use a mold. This will allow the buns to rise individually and hold their shape throughout the baking process.
This is especially important when baking hamburger buns since any outward expansion during baking will result in a larger diameter than desired, throwing off your burger to bun ratio.
If you plan on making lots of hamburger buns on an ongoing basis, you may wish to opt for metal tart rings scaled to your desired diameter or a specialty brioche bun pan. This recommendation is meant more for a professional kitchen that will need to produce over 50 brioche buns on a daily basis. Although the tinfoil rings are re-usable, they will build up gunk and have a hard time keeping their shape for more than a few bakes, making a tart ring a more convenient approach.
However, if you're just casually dabbling with brioche buns, making the rings out of foil is incredibly simple, and doesn't take much time when only making a few. Add to this the versatility of being able size the ring to any diameter you want, and its clearly the best option for low production environments such as the home kitchen or restaurants that want to run a special.
The Process
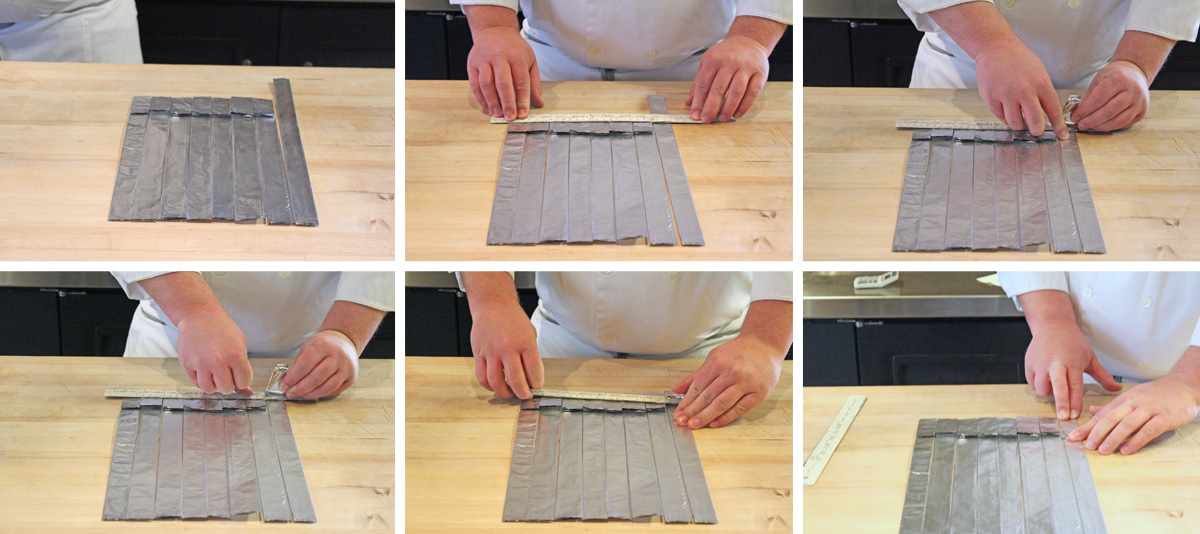
Start by pulling out a sheet of tinfoil, about 14-16 inches in length, and laying it lengthwise on your work surface. Fold the bottom third upwards into the center and crease. Repeat with the top third, folding it down into the center, and creasing.

Continue this pattern of folding the bottom third up and the top third down, creasing as you go, until you're left with a strip of foil with a width of about 0.75 inches.

Make one final fold, folding the tinfoil strip in half horizontally and creasing firmly.

Measure the foil strip to the appropriate length, making a crease.
-
4.5" Hamburger Bun = 14.25 inches
-
4" Hamburger Bun = 12.75 inches
-
3" Slider Bun = 9.5 inches /
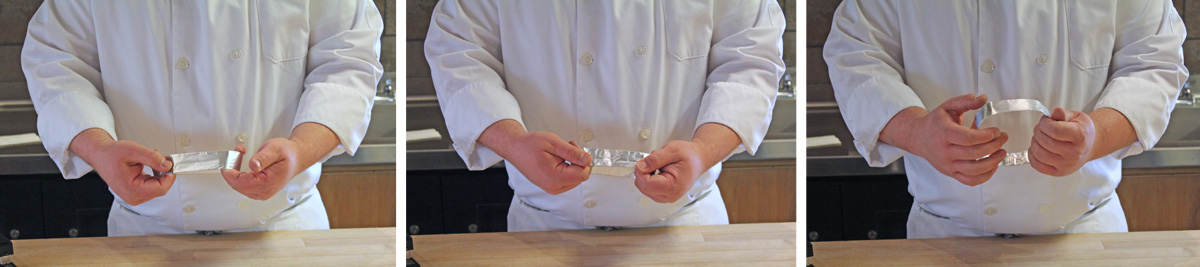
Place the long end of the foil strip inside the crease, and attach using two staples.
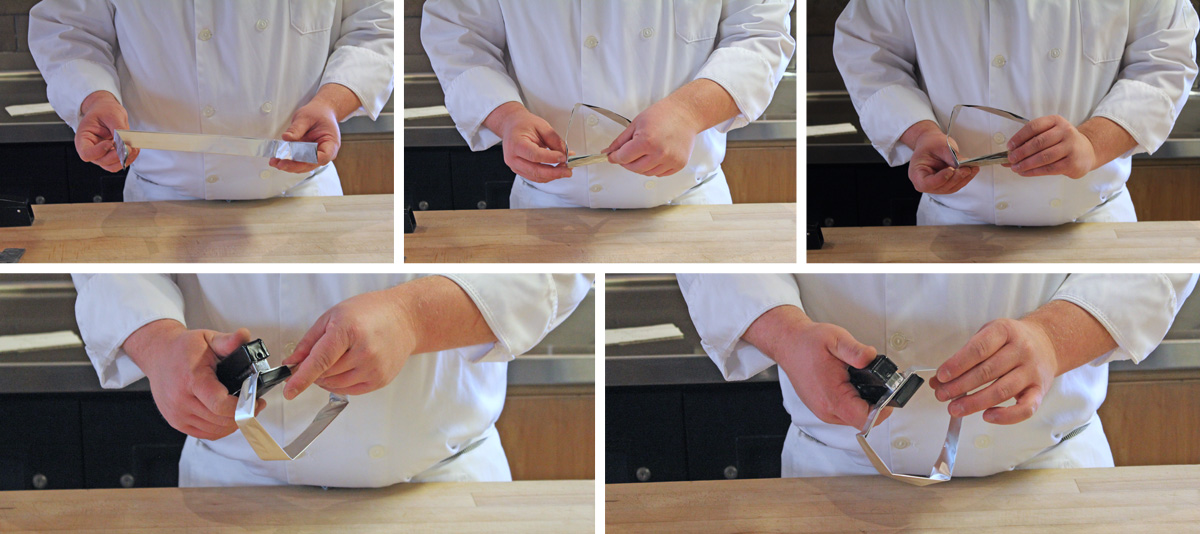
Gently pull the foil outward in a circular motion to form into a ring shape.
Spray ring with non-stick spray, place scaled dough inside, and allow to proof before baking.
Quick Note on Measurements
You can create any size bun you wish just by knowing your desired diameter.
For example, if you want to make a 5" bun, you would multiply 5 inches (your diameter) time 3.14 (π). This will give you the circumference of the bun, which is also the length to which you need to measure your tinfoil strip.
5 X 3.14 = 15.7
However, while experimenting with various sized buns during the R&D phase of this project, I found that my diameter was always slightly smaller than I wanted by the time I formed the foil into a ring shape. This is because no matter how hard you try, you'll never be able to form a perfect circle.
This led me to start rounding the circumference up to the nearest quarter inch. So in the example above, 15.7 would become 15.75, or maybe even 16 inches.
I know it's not an exact science, but this will at least get you in the ball park, allowing you to adjust the overall circumference of your mold up and down as needed.
Also, in the Hamburger Brioche Bun Video (linked below), you'll notice that the vertical height of my molds are fairly deep, about .75 - 1 inch.
However, after further testing, I found that I actually prefer a more shallow mold, between .25 - .5 inches. This allows the mold enough depth to aid the bun in holding it's shape throughout proofing and baking process, but still allows for a more natural expansion during oven spring.